Within the last 24 hours of me posting the previous article with a bunch of OS X 10.6 Snow Leopard, build 10A380 screenshots, I have gotten a small ton of messages from people via Twitter direct messages, Facebook, iChat and email asking me for how to install Snow Leopard. As I just don't have the time to explain everything step by step to every single person individually, I decided to write up this brief walkthrough on what to do.
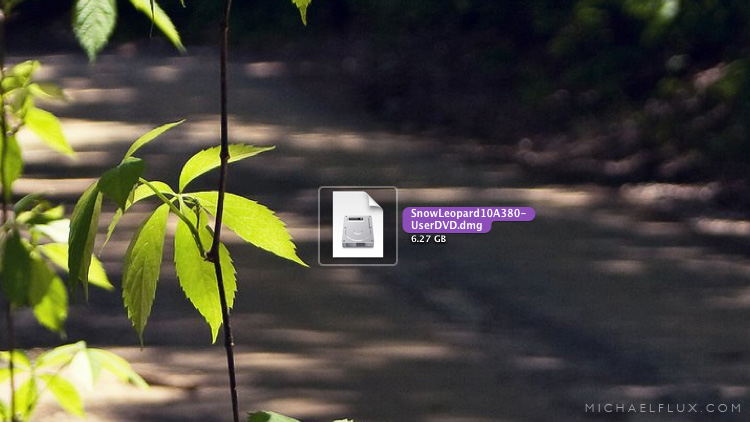
Step 1: First of all, obviously you need to acquire the .DMG (disk image) file. If you are an Apple Developer Connection Premiere, or Select member, you can download the .DMG file directly from Apple's Developer Connection website.
If you know of any ways to get it otherwise, please do not post any links as I will be forced to remove them. I don't care if you're talking among yourselves on the subject but please keep it to a minimum.
Step 2: With this .DMG file you can do one of two things. You can either, burn it to a dual layer DVD (thats the 8.5GB kind - you need it because the .DMG won't fit on a standard 4.7GB DVD) and from there proceed to install it like you would usually install an OS when you bought it in a store. OR you can install it directly from a hard drive. I personally prefer the second method, but will explain both.
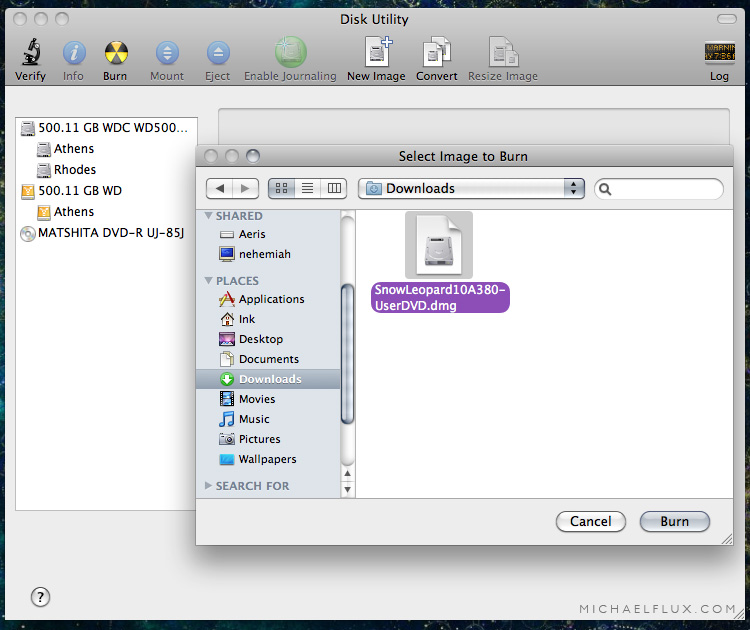
Step 3a: If you choose to go down the the DVD-burning route, you need to do the following. First of all, open Disk Utility, which can be found under/Applications/Utilities/, click on the yellow 'Burn' icon in the toolbar, find and select the .DMG file and click 'Burn'. Now just wait a few minutes until the disk is burned and verified and after that is done, you're ready to proceed to Step 4.
Step 3b: Now, I personally much prefer using this method when installing new operating systems. Not only are you not wasting the relatively expensive dual layer DVDs, but also with this method the installation time can be cut down in half. What you need is an external USB or Firewire hard drive which you can use "instead" of the DVD during your installation. A usb stick/thumb drive will also work as long as its large enough to fit the .DMG file. Before proceeding, back up any data you have on the external hard drive as you will now format it and in turn erase everything.
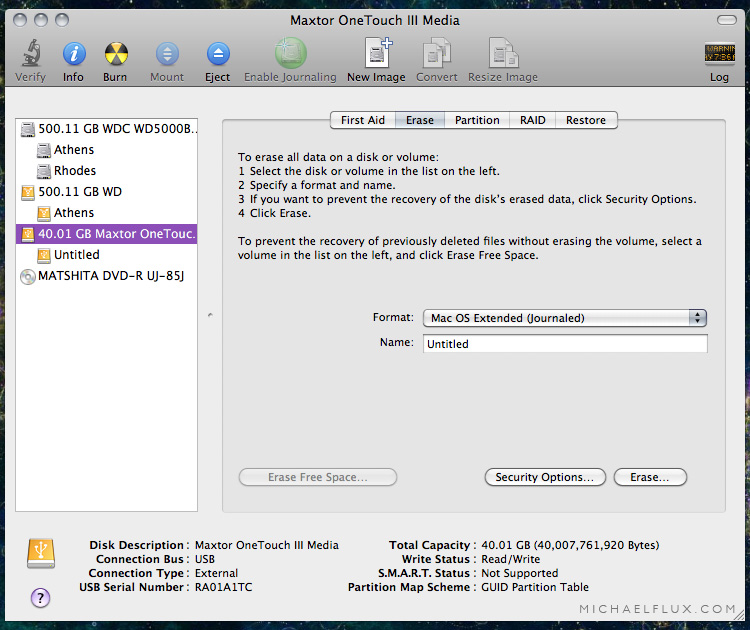
When you're done backing up anything you had on the external hard drive, open Disk Utility just like in Step 3a, select your external hard drive from the list in the sidebar, click on the 'Erase' tab, from the drop down menu select 'Mac OS Extended Journaled' and click 'Erase'.
After you erased the external hard drive, click on the 'Partition' tab, and from the drop down menu under 'Volume Scheme' select '1 Partition'*. Now click on the 'Options' button and form there, select 'GUID Partition Table'. This will allow you to boot from the hard drive you're currently preparing.
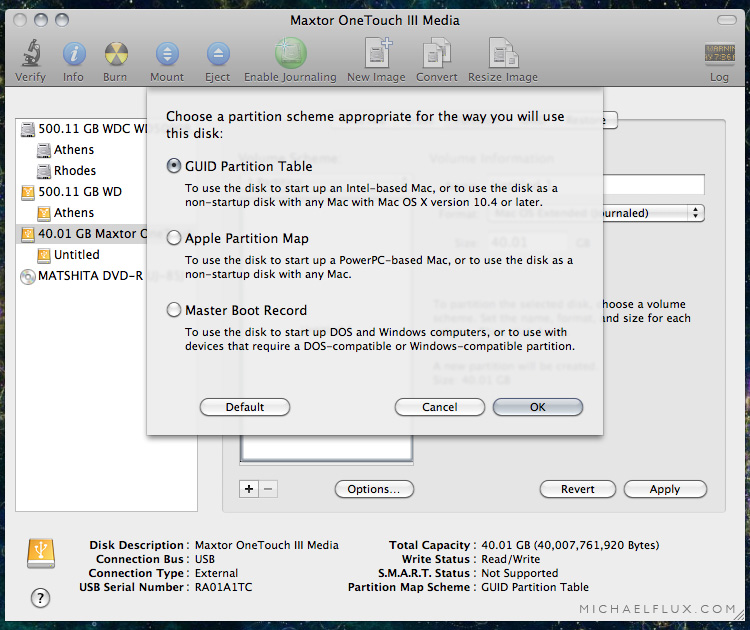
* One note I must make is that if this external hard drive is large enough (30GB or more) you can not only use it for the Installer, but also to install Snow Leopard onto it and then boot directly from this hard drive and use it as you would use your internal one if you were to install an OS on it.
If you do want to do this, simply select '2 Partitions' from the drop down menu, and resize one of them to 10GB, this will be the partition used for the Installer, the rest of the hard drive will be dedicated to the operating system itself.
After you're done with all of the above, click 'Apply' and wait for Disk Utility to properly partition your hard drive.
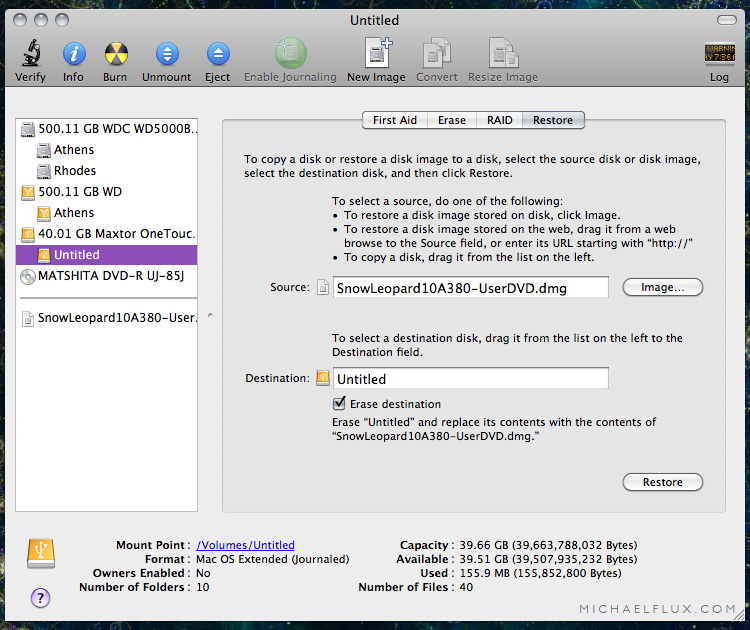
Now click on the 'Restore' tab. Locate your .DMG file and drag it onto the 'Source' field, either from within Disk Utility, or from Finder. From the sidebar grab the partition you prepared for the installer and drag it to the 'Destination' field. Check the 'Erase destination' checkbox and click 'Restore'. Thats it. Now sit back, and wait for the process to finish.
Step 4: Now its time to boot up. No matter which direction you went in in step 3, what you need to do now is the following. Shut down and power on or restart your Mac. Right after you hear the startup chime, before the Apple logo appears on the screen, press and hold the 'alt' key. Keep holding it until the icons for your hard drives (and optical media, if inserted) appear on the screen. From here select either the disk which you just burned or the hard drive to which you just restored the .DMG. Now that you've selected and clicked one one of the choices, wait for the Installer to boot and then follow the directions which are, I think, quite self explanatory.
For some photos of the the installer, please see my Mac OS X Snow Leopard 10A380: Part 1 Installation post


0 comments:
Post a Comment